
Integrating WhatsApp Webhook with Google Sheets Using Wcapi
Introduction WhatsApp integration is a game-changer for businesses looking to streamline communication. With Wcapi, you can efficiently manage WhatsApp messages by forwarding webhook payloads to a Google Sheets endpoint. This guide will walk you through setting up a Google Apps Script to capture incoming WhatsApp messages in a spreadsheet for easy tracking and analysis.
Step 1: Setting Up Your Google Sheet
Open Google Sheets and create a new spreadsheet.
Copy the spreadsheet ID from the URL (it looks like a long string of random characters).
Navigate to
Extensions>Apps Scriptto open the script editor.
Step 2: Writing the Google Apps Script In the script editor, paste the following Google Apps Script code:
/function doPost(e) {
var sheet = SpreadsheetApp.openById(“Your-endpoint”).getActiveSheet();
var data = JSON.parse(e.postData.contents);
sheet.appendRow([
new Date(), // Timestamp
data.contact.phone_number || “”,
data.contact.uid || “”,
data.contact.first_name || “”,
data.contact.last_name || “”,
data.contact.email || “”,
data.contact.language_code || “”,
data.contact.country || “”,
data.message.whatsapp_message_id || “”,
data.message.replied_to_whatsapp_message_id || “”,
data.message.is_new_message || “”,
data.message.body || “”,
data.message.status || “”,
data.message.media ? data.message.media.type : “”,
data.message.media ? data.message.media.link : “”,
data.message.media ? data.message.media.file_name : “”,
data.message.media ? data.message.media.original_filename : “”
]);
return ContentService.createTextOutput(“Success”).setMimeType(ContentService.MimeType.TEXT);
}
Replace "Your-endpoint" with your Google Sheets ID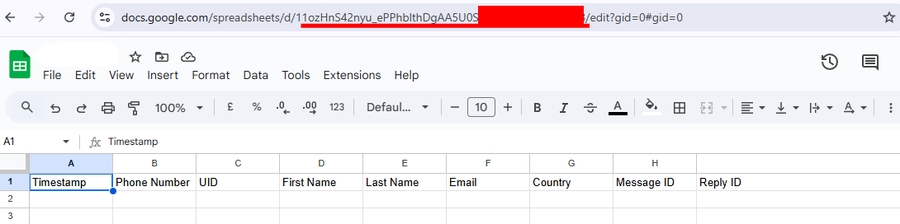 .
.
Step 3: Deploying the Script as a Web App
Click
Deploy>New Deployment.Select
Web Appas the deployment type.Set access permissions to
Anyone.Copy the generated URL; this will be your webhook endpoint.
Step 4: Connecting Wcapi Webhook to Google Sheets
Go to your Wcapi dashboard.
In the webhook settings, paste the deployment URL from Google Apps Script.
Save and activate the webhook.
Step 5: Testing the Integration Send a test message to your WhatsApp bot, and check if the message details appear in your Google Sheet. If everything is set up correctly, new messages will automatically be logged.
Conclusion By integrating Wcapi’s WhatsApp webhook with Google Sheets in real-time, you can automate message tracking and streamline customer interactions. This simple yet effective setup ensures that all incoming messages are recorded for further analysis and workflow automation.
Last updated